Cappuccino is supported on the following platforms:
| Platform | Supported features |
|---|---|
| Mac OS X | Toolchain, Interface Builder |
| Linux | Toolchain |
| Windows | Toolchain with installation of Cygwin |
This tutorial will be written based on Mac OS X, with notes on any differences with other platforms included.
If you haven’t already, download the Cappuccino Starter package. This zip file includes a sample application (NewApplication), licensing info, a script you can run later to download
all the Cappuccino tools, and a README.
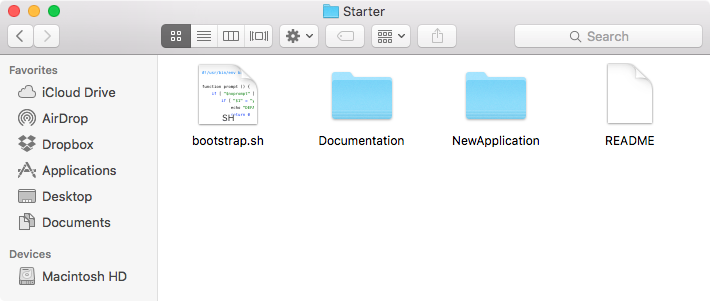
Once you’ve downloaded and unzipped the Cappuccino Starter package, open
up the NewApplication folder, and locate the index.html file. Now,
simply open that file in your favorite web browser by double-clicking
it, or just by dragging it on top of your browser application. You
should end up with something that looks like this (in Safari):
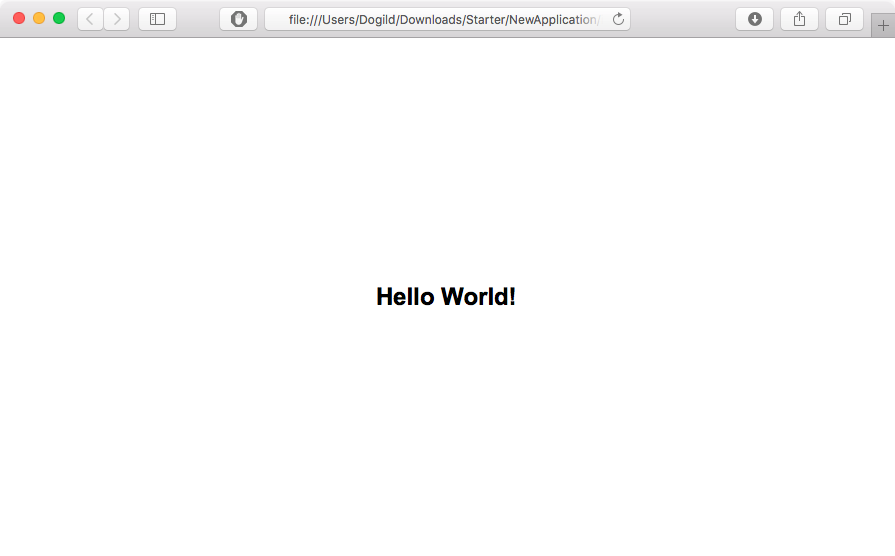
Info This will only work in some browsers. Normally you’ll need to start a web server too.
One easy way to start a web server is to use Python: just run python -m SimpleHTTPServer from the folder in which your project is located.
The source behind this sample application is startingly simple.
Although there are a few files, the only one we’re interested in right
now is AppController.j. The others are necessary, but you don’t need
to modify them to work on your application.
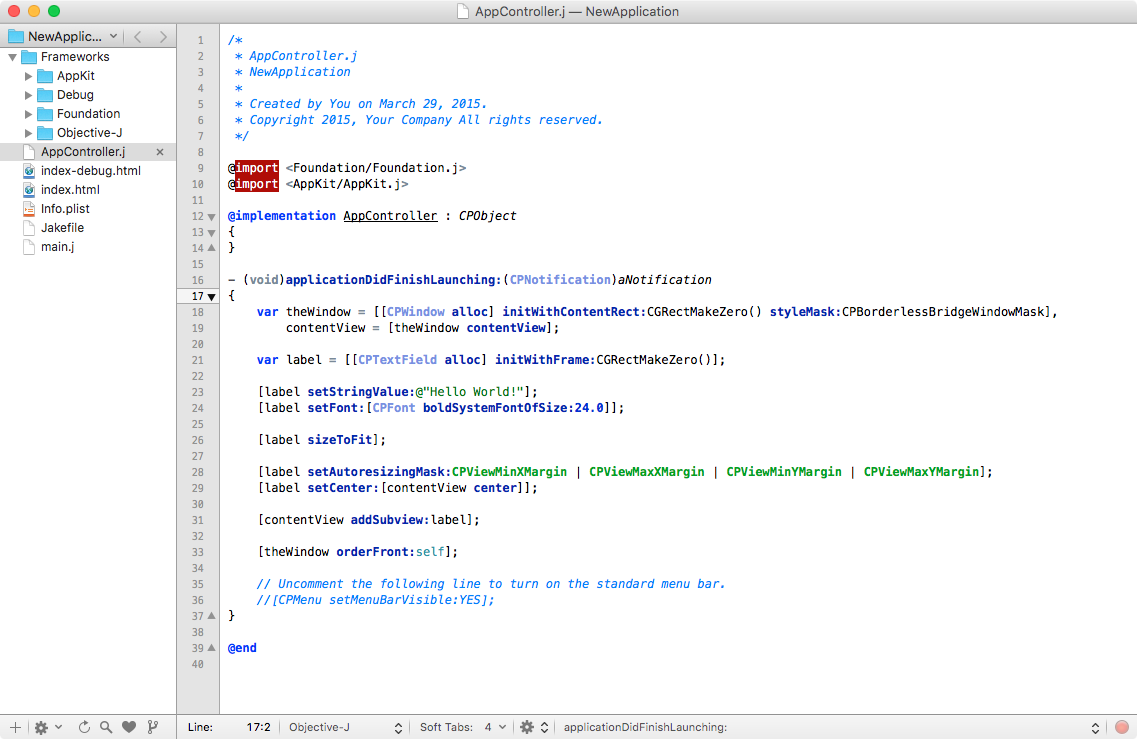
You can see in the image above that we have syntax highlighting in TextMate. You can get this by installing the appropriate mode, found on our getting set up tutorial.
Now let’s see what it takes to make a simple addition to NewApplication.
We’ll add a button that toggles the text on the screen between “Hello
World!” and “Goodbye!”. After the line that contains [contentView
addSubview:label] (line 31), add the following code snippet:
var button = [[CPButton alloc] initWithFrame: CGRectMake(
                CGRectGetWidth([contentView bounds])/2.0 - 40,
                CGRectGetMaxY([label frame]) + 10,
                80, 24
             )];

[button setAutoresizingMask:CPViewMinXMargin |
                            CPViewMaxXMargin |
                            CPViewMinYMargin |
                            CPViewMaxYMargin];

[button setTitle:"swap"];

[button setTarget:self];
[button setAction:@selector(swap:)];

[contentView addSubview:button];
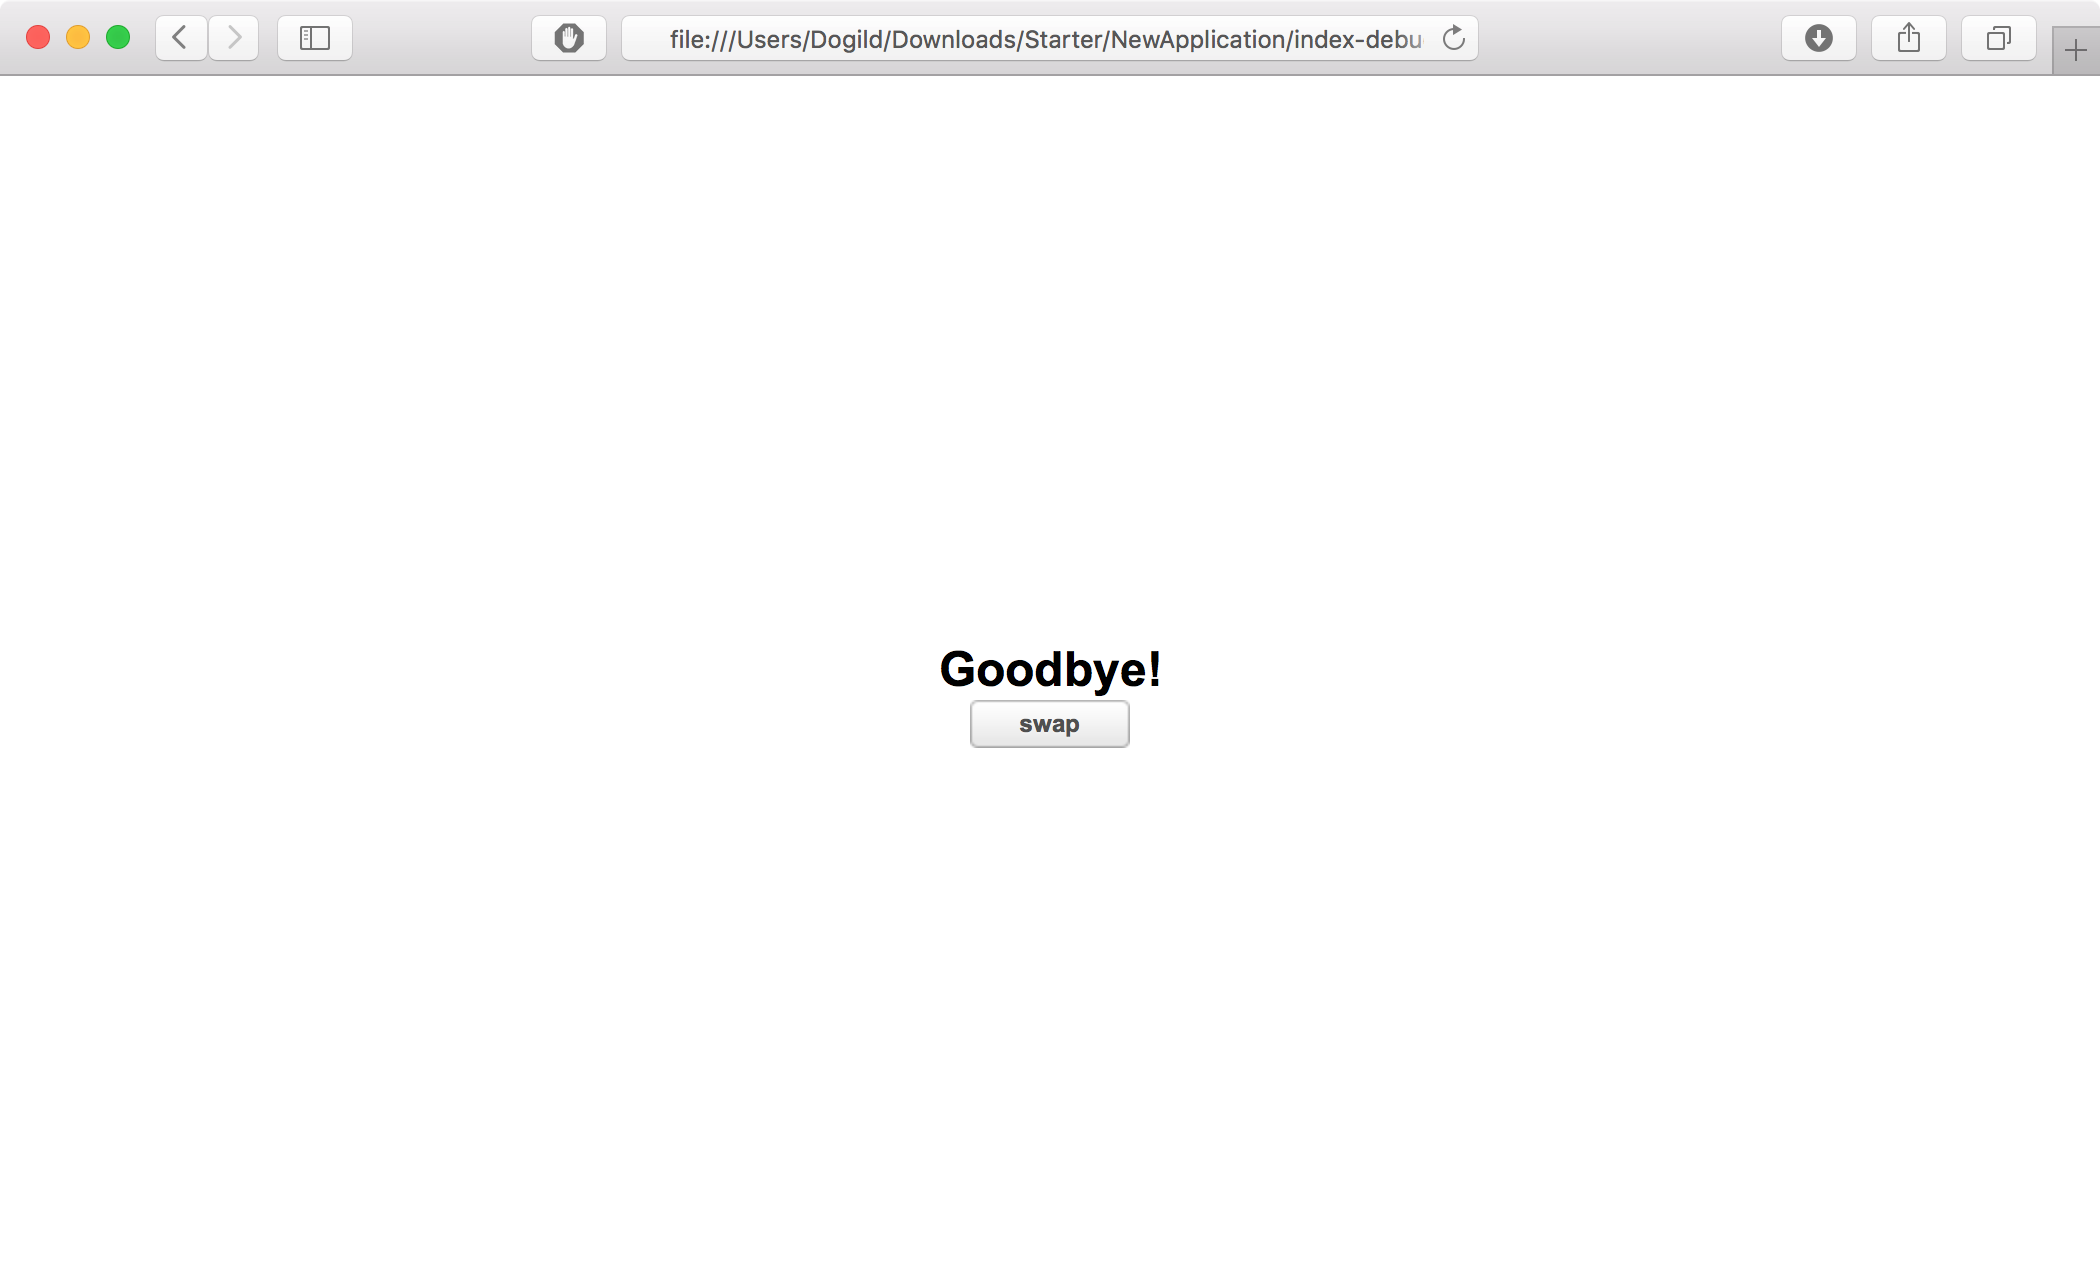
Now, refresh your browser, and you should see a button right below “Hello World!”. It won’t work just yet, because we haven’t told it what to do when the button is pressed. Before we do that, let’s quickly go over what each of the previous lines does:
var button = [[CPButton alloc] initWithFrame: CGRectMake(
                CGRectGetWidth([contentView bounds])/2.0 - 40,
                CGRectGetMaxY([label frame]) + 10,
                80, 24
             )];
This line instantiates a new CPButton object, and places it 40 pixels to
the left of the center of its parent view, and 10 pixels below the
bottom of the label above it. It’s 80 pixels wide, and 24 pixels tall.
CGRectMake is the main way to create a CGRect, which is the object
that describes the size and positioning of every view in Cappuccino.
[contentView bounds] returns the CGRectof view, but without its
positioning information. [label frame] return the CGRect of the label,
including its position information.
[button setAutoresizingMask:CPViewMinXMargin |
                            CPViewMaxXMargin |
                            CPViewMinYMargin |
                            CPViewMaxYMargin];
Auto-resize flags define how a view resizes when its parent resizes (all the way up to the window). In this case, it’s saying that it would like to have flexible space above, below, to the right, and to the left. In other words, stay in the center, and don’t change size.
[button setTitle:"swap"];
Set the title of the button to “swap”.
[button setTarget:self];
[button setAction:@selector(swap:)];
In Cappuccino, as in OpenStep and Cocoa, controls like buttons use the
target/action mechanism for defining their behavior. Think of this as
the equivalent to DOM elements’ onclick, but much more powerful. In the
code above, we’re setting self (the AppController instance) to be
our target, and swap: to be our action. This means that when the
button is pressed, we’ll send the swap: message to self, which
would be equivalent to writing [self swap:button]. You’ll notice
swap: takes one parameter. By default, actions usually have one
parameter, called sender, so that you can know who is requesting
this action take place (in this case it is the button). This can provide
useful context when multiple buttons or views have the same target and
action.
[contentView addSubview:button];
Finally, in this last line, we add our button as a subview of the window’s content view. The content view is the root view of a window, and so the first place you’d put any additional views.
As it currently stands, label is scoped to just exist within
applicationDidFinishLaunching:, which means it won’t be accessible in
swap: or any other methods. So instead of making it a local variable,
lets make it an instance variable of AppController. To do this we
simply need to add it to our class declaration by replacing:
@implementation AppController : CPObject
{
}
with:
@implementation AppController : CPObject
{
    CPTextField label;
}
Now, let’s take out the var keyword in the original declaration of
label.
var label = [[CPTextField alloc] initWithFrame:CGRectMakeZero()];
becomes:
label = [[CPTextField alloc] initWithFrame:CGRectMakeZero()];
Now we need to actually add the swap method. Add the following code
after the closing bracket of the applicationDidFinishLaunching:
method:
- (void)swap:(id)sender
{
    if ([label stringValue] == "Hello World!")
        [label setStringValue:"Goodbye!"];
    else
        [label setStringValue:"Hello World!"];
}
This code checks what the current value of label is and uses that to
decide what to set the new value to.
Now you should be able to run this new code by saving AppController.j
and hitting refresh in your browser. Click the button, and you should
see the string change back and forth between “Hello World!” and
“Goodbye!”.
For a finishing touch, add this line after you create the label in
applicationDidFinishLaunching:
[label setAlignment:CPCenterTextAlignment];
Now the text will be centered as it toggles back and forth. For the complete changes, you can download this copy of AppController.j.
This concludes our quick introduction to the Cappuccino Starter package, and to modifying your first application. Now that you’ve got your feet wet, you can move on to a more advanced tutorial.

![]() Logo by Sofa. Hosted by SlevenBits. Copyright © 2013-2019 - Cappuccino Project.
Logo by Sofa. Hosted by SlevenBits. Copyright © 2013-2019 - Cappuccino Project.